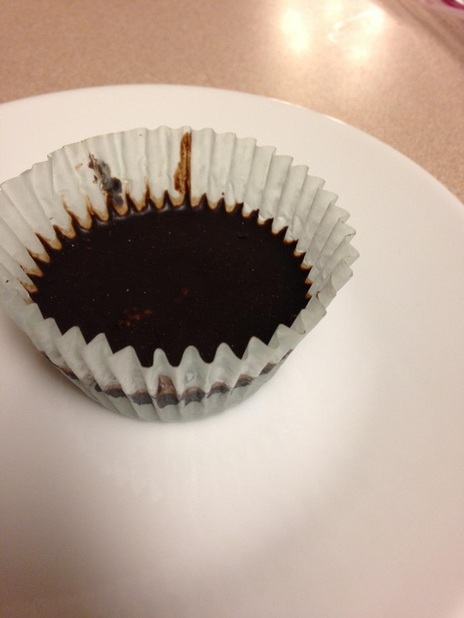
Yup, Powerful Peanut Butter Cups. Tasty! They are powerful, packed with protein and healthy fats, and satisfying. These Peanut Butter Cups adhere to the guidelines for an S dessert in the book ‘Trim Healthy Mama’ by Serene Allison and Pearl Barrett.
I have been cooking, baking and eating the Trim Healthy Mama way for a few weeks now and these are some of my favorite treats.
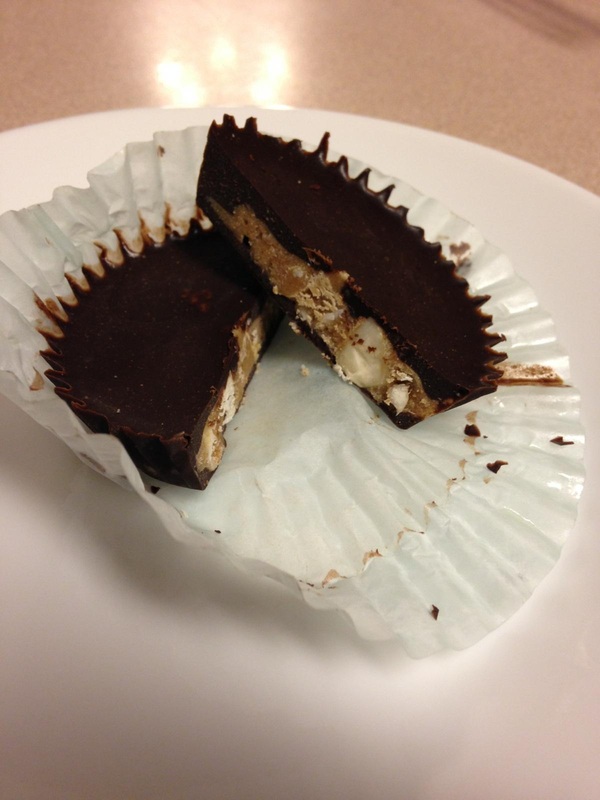
I’ve added a crunchiness option for those who like more texture in their treats, like my dad, who likes crunch in nearly all his meals. Whether it’s in his yogurt and berry snack or on his pancake (In the form of crunchy peanut butter or a sprinkle of granola), he likes a little *crunch*. It’s funny to see the little differences that make people unique- my mom, for example, wants her pancake to be a pancake (smooth peanut butter, please) and let the yogurt’s smoothness stand on it’s own. You see, my mom doesn’t like being interrupted; those little walnuts in that muffin are like a hundred little interruption in every bite. Those same crunchies that make my dad feel like he’s eating man-food, interrupt my mom’s peaceful moment while eating her muffin.
Whichever texture you prefer, you have options. Give this recipe a try!
I have been cooking, baking and eating the Trim Healthy Mama way for a few weeks now and these are some of my favorite treats.
I’ve added a crunchiness option for those who like more texture in their treats, like my dad, who likes crunch in nearly all his meals. Whether it’s in his yogurt and berry snack or on his pancake (In the form of crunchy peanut butter or a sprinkle of granola), he likes a little *crunch*. It’s funny to see the little differences that make people unique- my mom, for example, wants her pancake to be a pancake (smooth peanut butter, please) and let the yogurt’s smoothness stand on it’s own. You see, my mom doesn’t like being interrupted; those little walnuts in that muffin are like a hundred little interruption in every bite. Those same crunchies that make my dad feel like he’s eating man-food, interrupt my mom’s peaceful moment while eating her muffin.
Whichever texture you prefer, you have options. Give this recipe a try!
Powerful Peanut Butter Cups
Chocolate:
¼ cup cheap coconut oil
¼ cup virgin coconut oil
¼ cup butter
¼ cup peanut butter
¾ cup unsweetened cocoa powder
1 tsp vanilla extract
1 tsp almond extract
Stevia to taste (I used 10 drops of Swanson Brand stevia drops)
Dashes of salt to taste (Our PB has no salt added)
Melt all the oils and butters together in a double boiler over low heat. Once melted, stir in other ingredients until smooth.
Pour chocolate into approx. 14 muffin cups until bottom of cup is just covered. I put the chocolate into a small pitcher with a spout for this part. Don't use more then half of the chocolate! Place cups in freezer to set while making the peanut butter filling.
Peanut Butter Filling:
¼ cup peanut butter
2 TBS butter, softened or melted
1 tsp vanilla
1 scoop of whey protein powder (I use Swanson Premium Brand Unsweetened Vanilla)
Stevia to taste (3 drops)
Dashes of salt to taste
Optional crunchiness: ¼ cup of any of the following in any combination: unsweetened, shredded coconut; chopped nuts; flax seeds; chia seeds; or sprouted, dried buckwheat (but no more then 2 TBS)- use your imagination!
Mix all ingredients vigorously until blended.
Remove muffin cups from freezer and place about 2 tsp of peanut butter filling in each cup. You may need to pat the filling down so that the chocolate will cover it.
Once all cups have filling, use reserved chocolate to cover the filling. Return to freezer to solidify.
Store in freezer until ready to eat.
-------------------------------------
If I have chocolate leftover then I make a chocolate bar. If I have extra filling then I add more coconut and roll it into Tablespoon sized balls and freeze.
My mind could run wild thinking of all the exciting variations that this recipe could have. Replace the peanut butter with more coconut oil in the chocolate, and make a filling out of anything you like. Example filling ideas- Coconut with an almond (think almond joy!), blueberries mixed with yogurt, cookie dough (THM approved of course ;) ), a slice of strawberry, espresso beans or any type of chopped nuts.
Have fun using your imagination!
Bethany


 RSS Feed
