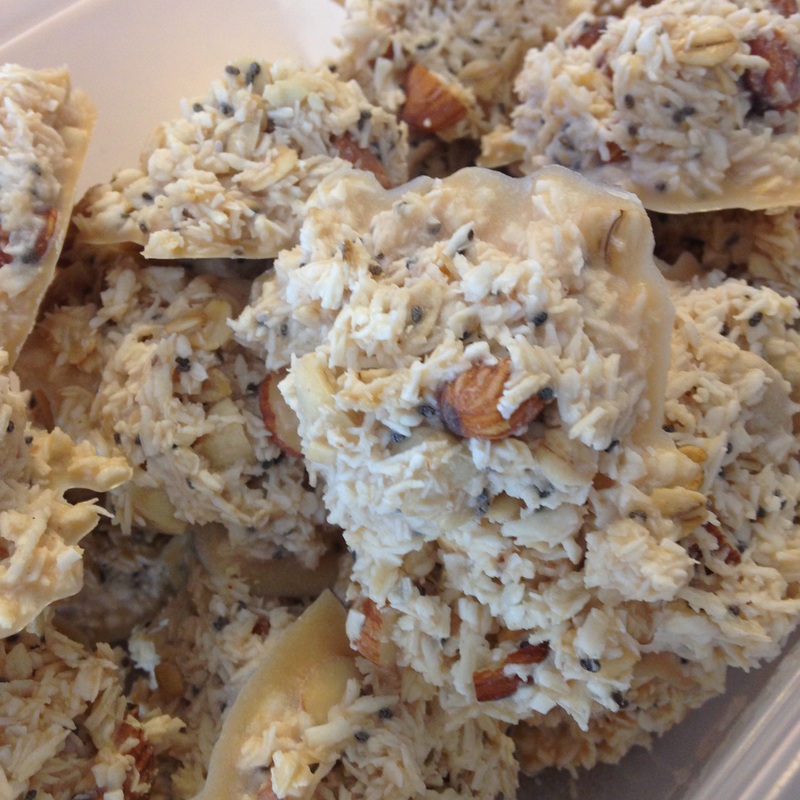
Coconut Cookie Balls- a delicious holiday treat for Hanukkah. Lydia came across this recipe on Pintrest and made a batch to take to a friend’s house. They were so good. I decided to make some of these for Hanukkah because A. They are yummy and B. because they are made with oil- traditionally appropriate for this holiday:)
These cookies taste best with chocolate, but they are alright without it (but you may want to add some type of sweetener- depending on how sweet you like them).
These cookies taste best with chocolate, but they are alright without it (but you may want to add some type of sweetener- depending on how sweet you like them).
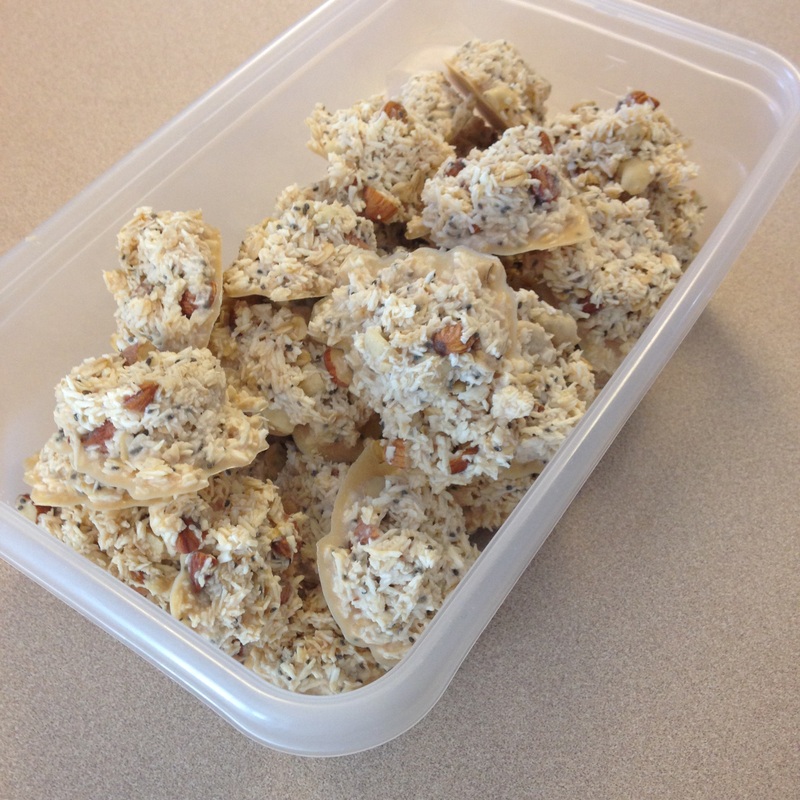
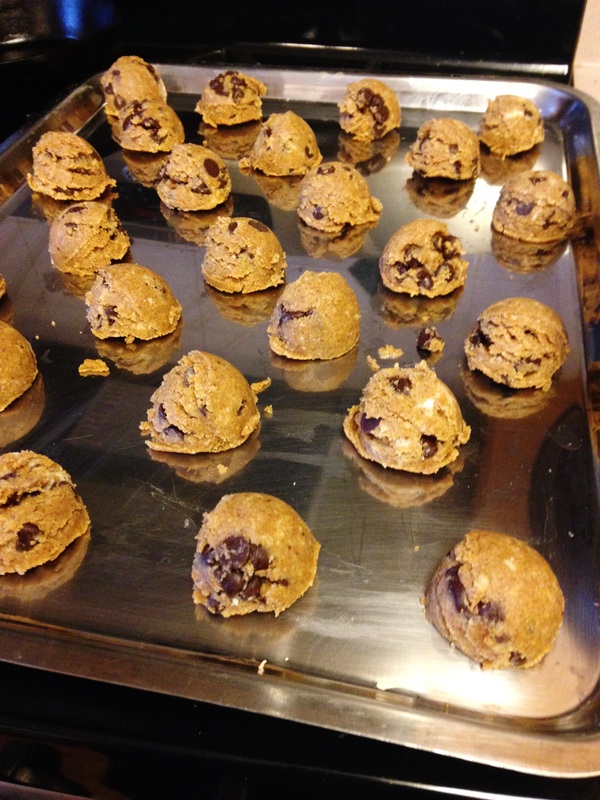
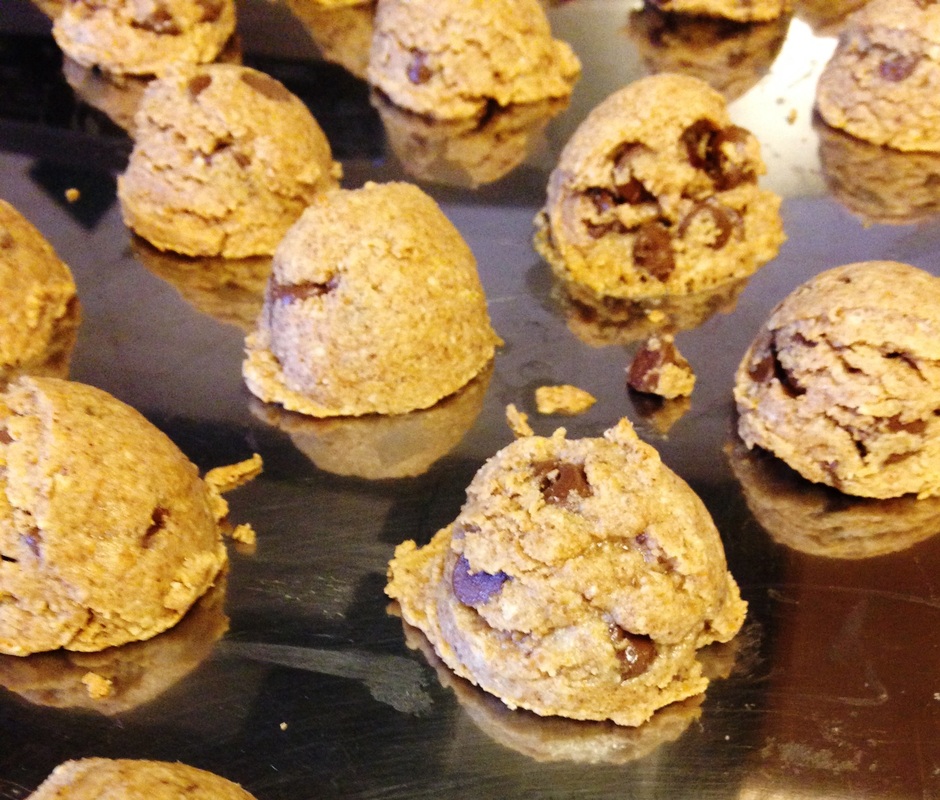
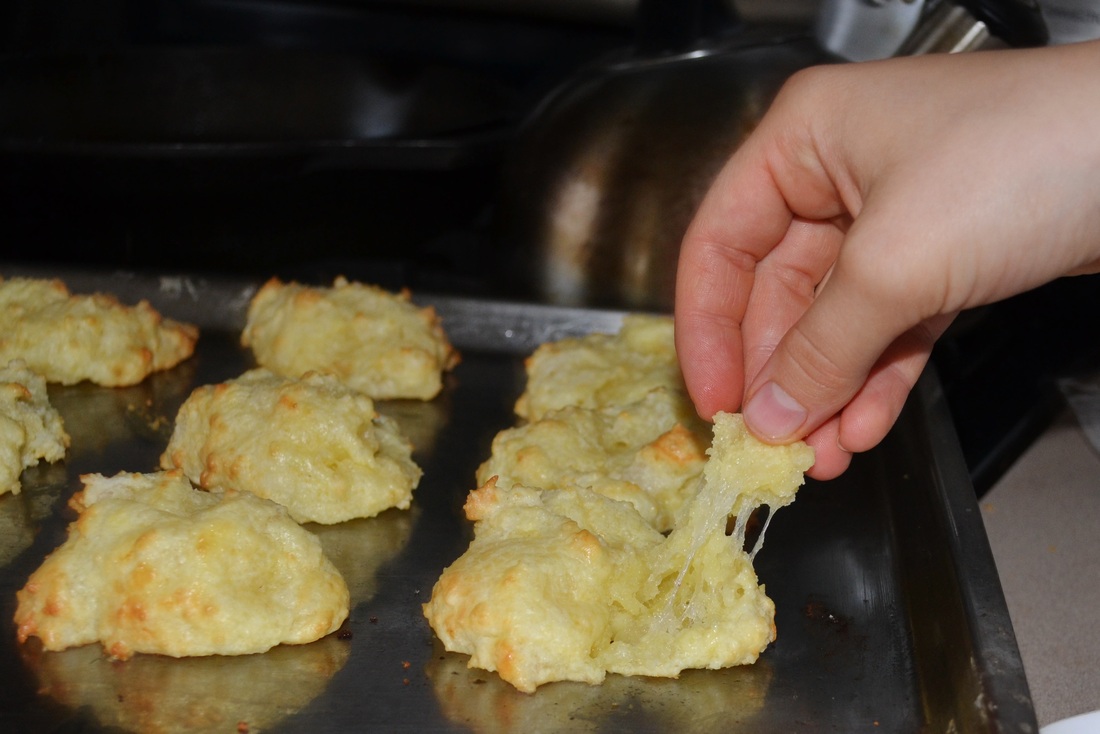
There is one change that I’ve made to the recipe to make it more Trim Healthy Mama friendly. Instead of the full measure of peanut butter, I will substitute half for a mixture of butter and coconut butter. I have found that the best way to form these cookies is to use a cookie scoop to spoon the cookies onto a cookie sheet (lined with parchment paper) and put them in the freezer. After the cookies have frozen they peel right off and store wonderfully in a plastic bag or Tupperware container.
Here is a link to the original recipe:
http://www.primallyinspired.com/cookie-dough-snack-balls/
Here is our version:
Dad’s Favorite Coconut Cookies
Ingredients:
Instructions:
Pairs well with a hot cup of coffee or a glass of cold, raw milk:):)
http://www.primallyinspired.com/cookie-dough-snack-balls/
Here is our version:
Dad’s Favorite Coconut Cookies
Ingredients:
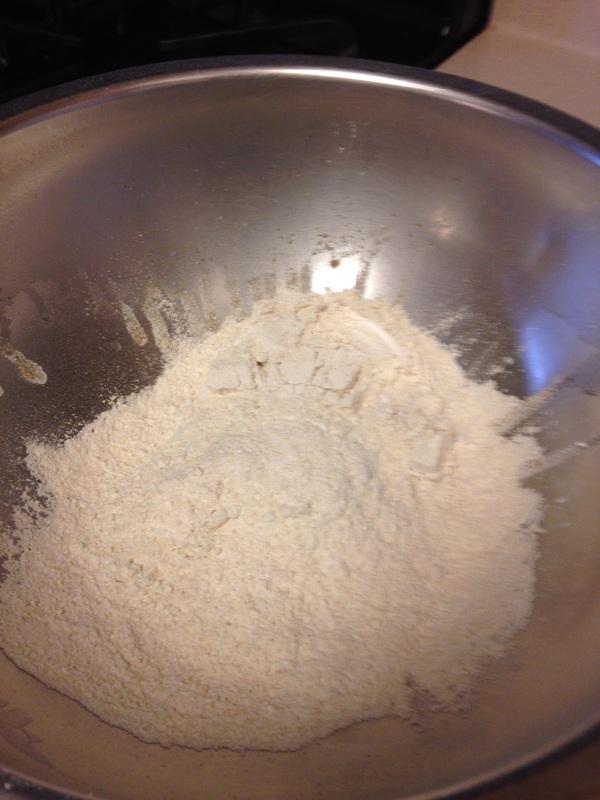
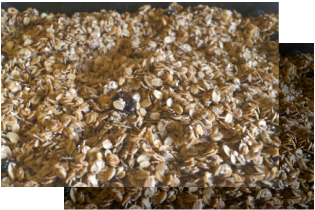
- 1-1/2 cups unsweetened coconut flakes
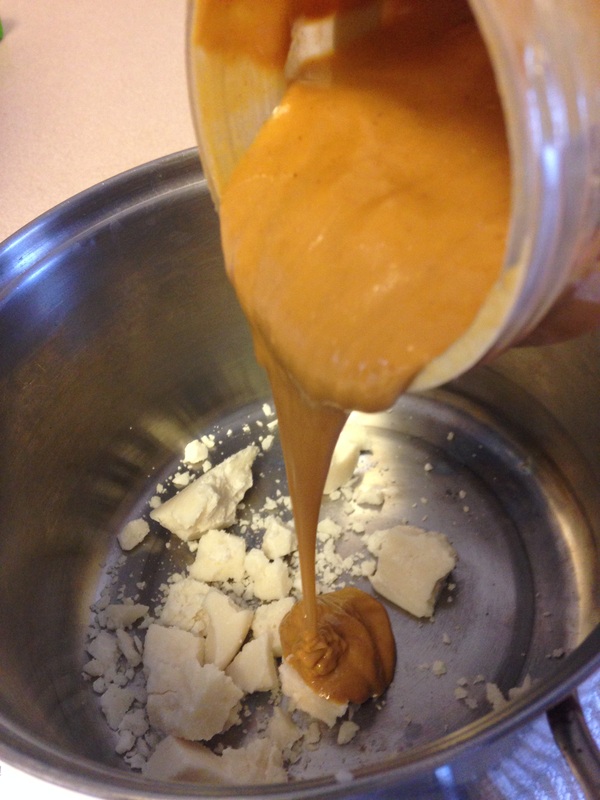
- 1/4 cup peanut butter
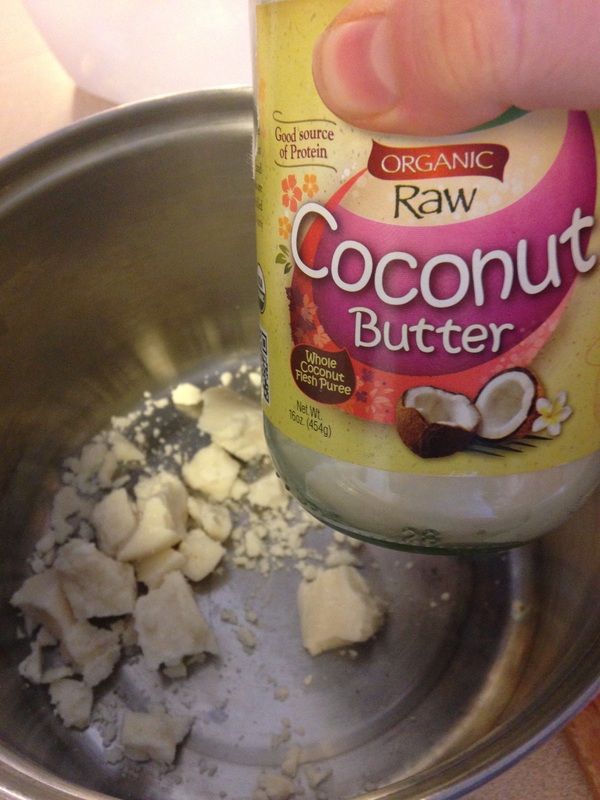
- 2 TBS Coconut butter
- 2 TBS Butter
- ½ cup coconut oil, melted
- 1 teaspoon Vanilla
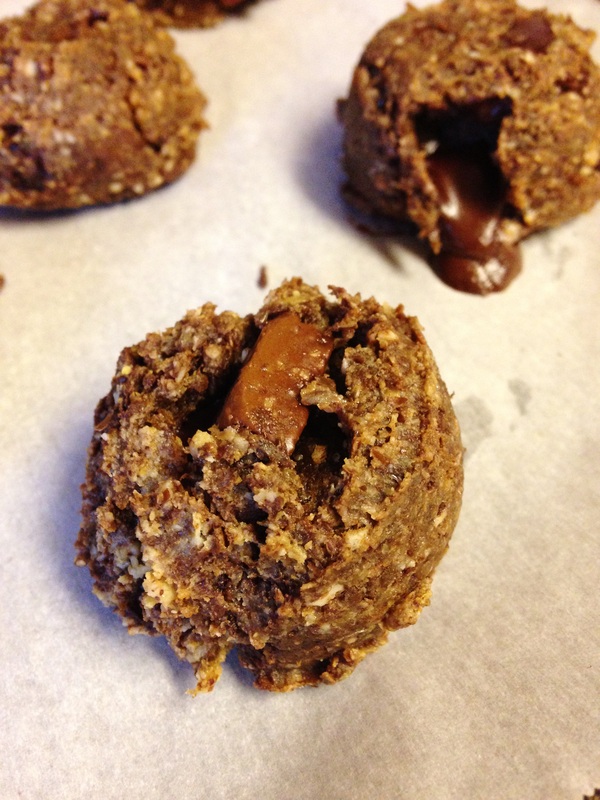
- ½ cup chopped dark chocolate bar (85%) or homemade chocolate
- Optional- if you want a sweet cookie but are not using chocolate, use a small amount of maple syrup, stevia or other sweetener
- Optional- sometimes it’s fun to add some chopped almonds, sunflower seeds or pumpkin seeds
Instructions:
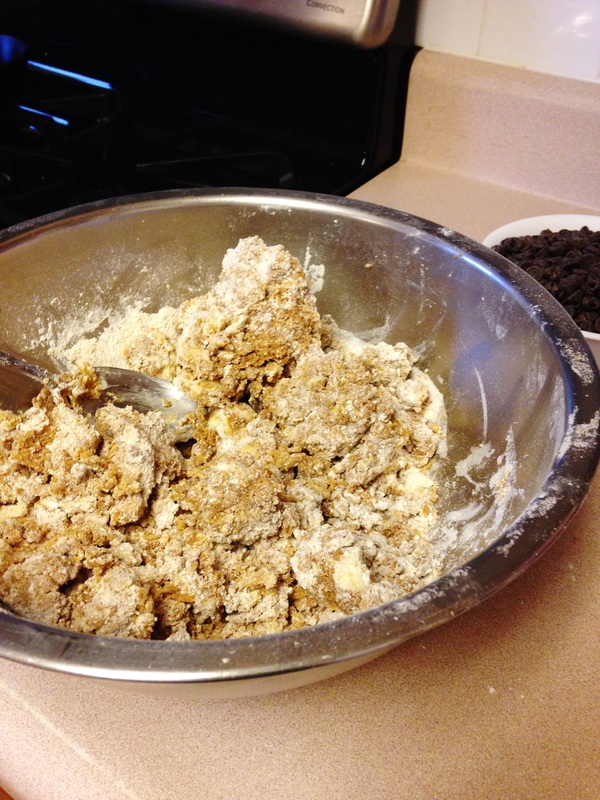
- Combine all the ingredients, except chocolate into sauce pan and place over low heat, stir until well incorporated.
- Let cool.
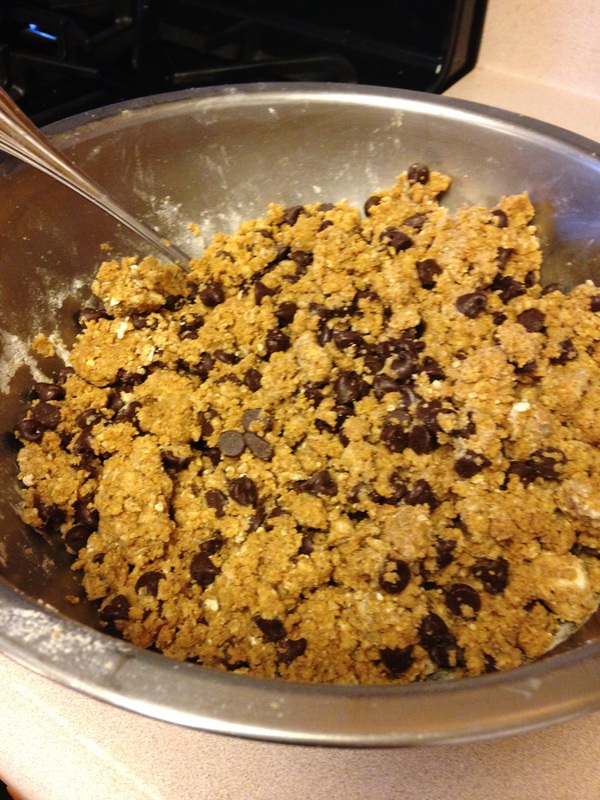
- Stir in chocolate.
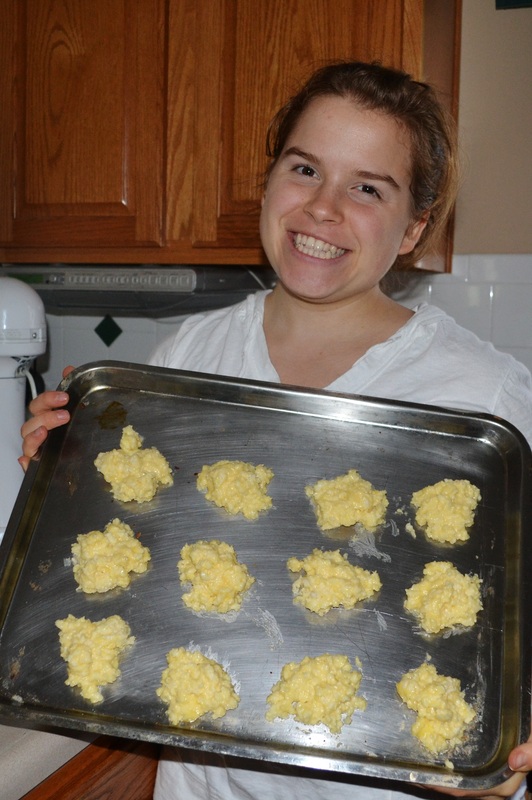
- Scoop onto cookie sheet and freeze
- Freeze until hardened
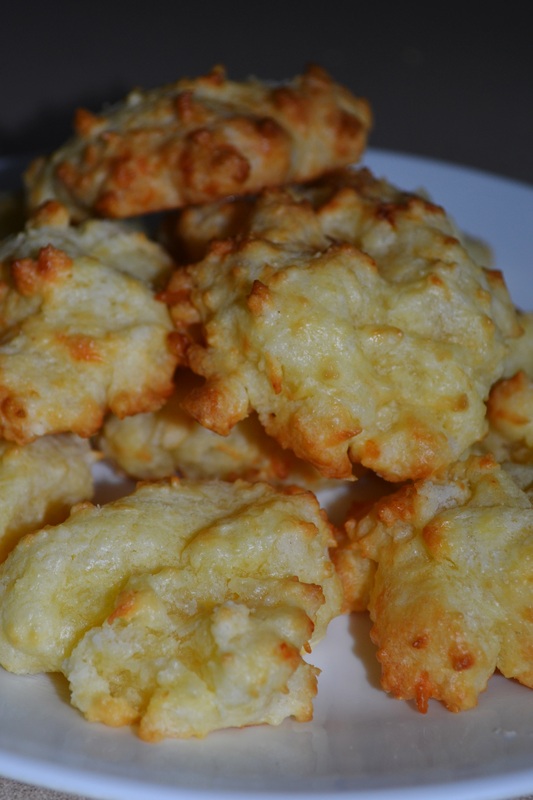
- Eat and enjoy!
Pairs well with a hot cup of coffee or a glass of cold, raw milk:):)


 RSS Feed
